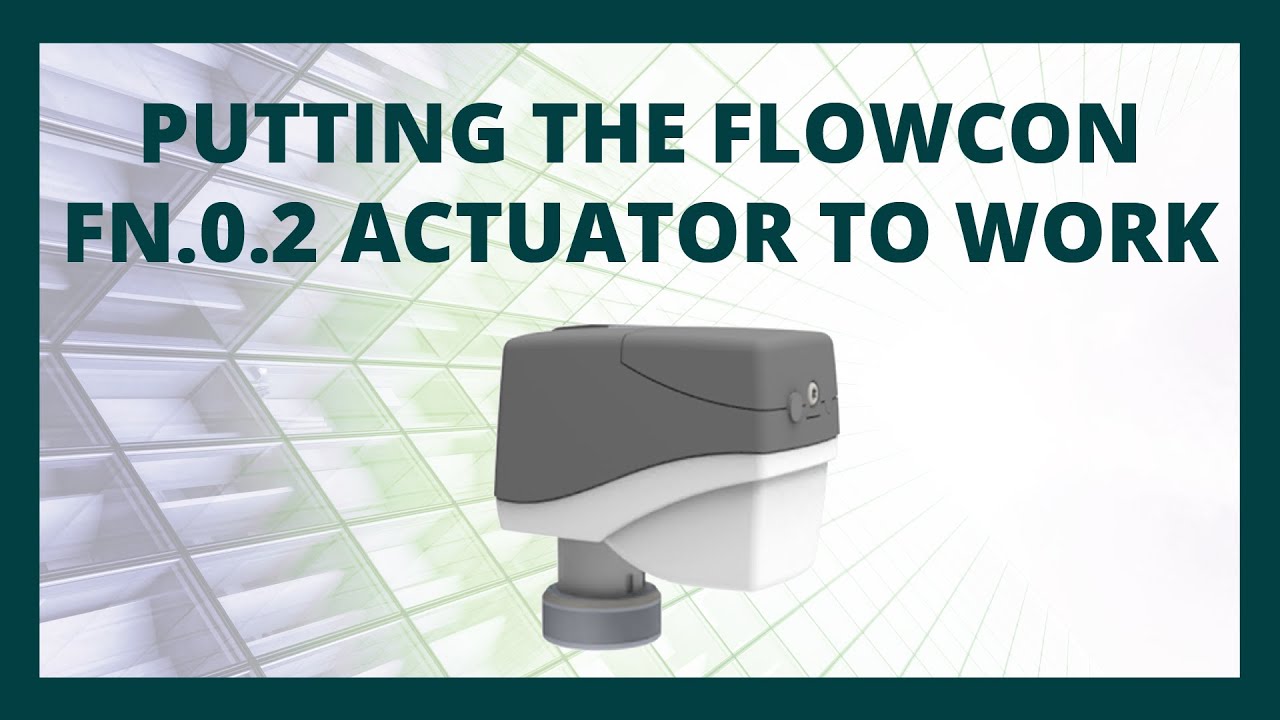
Putting the FlowCon FN.0.2 Actuator to Work
6 September
The FlowCon FN.0.2 Electric Actuator is designed for 24Volt AC/DC with ±10% tolerance and 50 or 60 Herz supply with an Analog 0 to 10V or 2 to 10V DC signal. It is self-calibrating, complete with feedback position signal. The standard cable length is 1.5m (black). The standard cable can be replaced with an extended cable of any length, which is cream-coloured. When the actuator is supplied with cream-coloured cable, please note the connecting wire colour change.
To set up the FN02 Actuator Dip Switches, unscrew the setscrew and lift off the cover. The default setting for all the Dip Switches is the OFF position, which will satisfy the majority of applications for the FlowCon Green PICVs. Switching the Dip Switch to the ON position changes the function.
The FN.0.2 Actuator is designed to fit the following FlowCon Green Pressure Independent Control Valves:
- Green.EQ0 PICV – 3.4mm stroke, closing time 75 sec
- Green.0 PICV – 3.4 mm stroke, closing time 75 sec
- Green.1 PICV – 3.4 mm stroke, closing time 75 sec
- Green.1HF PICV – 3.4 mm stroke, closing time 75 sec
- Green.2 PICV – 5.2 mm stroke, closing time 114.4 sec
Ensure the actuator is in the fully open position before mounting it on the valve to avoid the risk of damaging the PICV.
- Align the actuator to the PICV threaded insert.
- Rotate the locking ring clockwise by hand until hand-tight.
- The actuator is suitable for mounting upside-down, but we recommend mounting the actuator above the horizontal, body facing upwards.
Calibrating the actuator mounted
- The actuator has a stroke length of 9mm and will self-calibrate to the PICV’s closed position when the power is turned on.
- During the calibration process the LED will flash green.
- Once the actuator locates the closed position, the LED will stay Green permanently. No further action is required. The calibrated position will be retained in the actuator memory.
- The stainless-steel pin, located on the actuator neck, will indicate when the actuator is fully closed. The closed position is different for the GreEQ, 0, 1 and 1HF compared to the Green.2.
ATTENTION: Be aware of the software version of the actuator. Do not calibrate the actuator when it isn’t mounted on the PICV. Read the supplementary FN.0.2 instructions on our website in case the actuator has been calibrated without having been mounted to the PICV.
Electrical override and recalibrating the actuator using DIP switch 6:
To drive the actuator fully open, flip Dip Switch 6 from the OFF position to the ON position then back to the OFF position. The LED will now flash Red and Green. As well as driving the actuator open, this routine prepares the actuator for recalibration. The actuator will close with the LED flashing Green. Once closed, the actuator will be recalibrated, and the LED will be solid Green.
Removing and remounting the actuator:
Only remove the actuator from the valve in the fully open position. Drive the actuator open with the control signal or by flipping DIP switch 6 to the ON position. Once fully open, turn the power off. DIP switch 6 should be reset to the OFF position and should remain in this position whilst the actuator is not fitted to the PICV. Only remount the actuator onto the PICV in the fully open position. Once remounted, turn the power on. The actuator will recalibrate to the PICV.
Feedback signal:
The feedback signal reflects the actuator’s actual position as an electrical signal. It will only equal the control signal when a steady state condition has been reached and the actuator has moved to the required position. For software-version specific calibration and fault finding tips please visit our additional instructions or contact our technical team for assistance.